Leather embossing is a technique that involves imprinting intricate patterns or designs onto leather surfaces, adding a touch of elegance and texture to your leather products.
Introduction to Embossing Leather
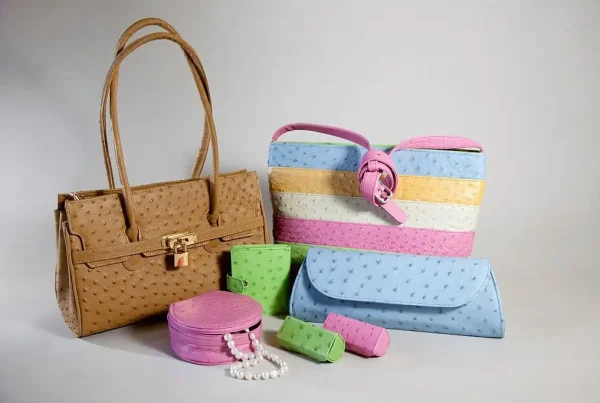
Leather embossing is the art of creating raised designs on leather surfaces. Crafters and artisans use this technique to add texture and decorative elements to leather goods such as belts, wallets, and book covers.
Embossing leather has gained immense popularity among crafting enthusiasts due to its ability to elevate the visual appeal and uniqueness of leather items. It allows for personalized designs and adds a touch of elegance and sophistication.
To embark on your leather embossing journey, you’ll need some essential materials and tools. These include high-quality leather, embossing stamps or rollers, a mallet or press, a tracing tool, and a damp sponge for preparation.
Step 1: Preparing Your Workspace
To embark on your leather embossing journey, start by setting up a well-organized and dedicated work area. Choose a spacious and well-lit spot where you can comfortably lay out your leather and have easy access to your embossing tools.
Safety is paramount when working with embossing tools. Prioritize protection by wearing gloves and safety glasses to shield your hands and eyes. Keep your work area tidy and free from potential hazards, ensuring a smooth and accident-free crafting experience. With the right workspace and safety measures in place, you’re all set to dive into the captivating world of leather embossing.
Step 2: Choosing the Right Leather
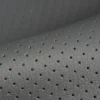
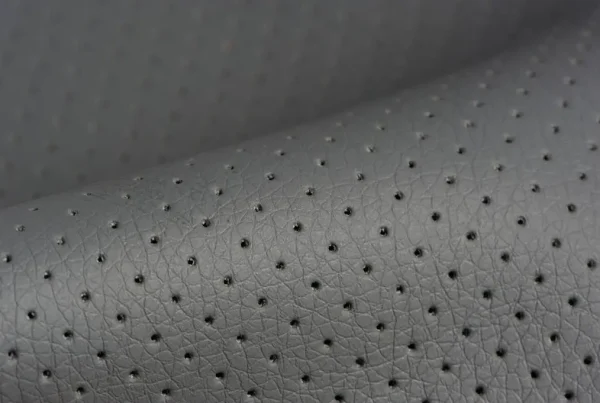
Leather embossing begins with understanding the diverse range of leather types available. From full-grain to top-grain and genuine leather or semi-aniline, each offers unique characteristics. Consider factors like thickness, flexibility, and surface texture to select the perfect leather for your embossing projects.
When picking the ideal leather for embossing, opt for smooth and evenly textured surfaces to ensure crisp and defined imprints. Thinner leather is suitable for intricate designs, while thicker leather works best for bold and deep embossing. Your chosen leather will be the canvas for your creative expression, so choose wisely to bring your embossing visions to life.
Step 3: Designing Your Embossing Leather Pattern
Before embarking on your leather embossing project, take the time to sketch and plan your design. Start with rough ideas on paper, refining them until you’re satisfied with the concept. Consider the size, placement, and intricacy of the pattern to achieve the desired visual impact on the leather surface.
For those seeking more precision and complexity, digital tools offer limitless possibilities. Utilize graphic design software to create custom patterns tailored to your preferences. Experiment with various motifs, monograms, or logos to make your embossed leather piece truly one-of-a-kind.
Designing your embossing pattern is a crucial step that lays the foundation for a successful and visually captivating leather embossing project. Whether you prefer traditional sketches or embrace modern digital tools, let your creativity shine through as you prepare to transform leather into a work of art.
Step 4: Transferring the Pattern onto Leather
When it comes to transferring your embossing pattern onto the leather, various techniques can be employed. Tracing the design directly onto the leather or using carbon paper are popular methods. You can also utilize transfer pens or pencils for precision.
Accurate placement is vital to achieve the desired outcome. Secure the pattern firmly on the leather surface using tape or weights. Double-check alignment and make any necessary adjustments before proceeding with the embossing process. Patience and precision ensure a flawless transfer and set the stage for a beautifully embossed leather masterpiece.
Step 5: Selecting and Using Embossing Tools
Embossing tools play a pivotal role in creating captivating designs on leather. Explore a variety of tools, including embossing stamps, rollers, and punches, each serving unique purposes to bring your patterns to life with intricate details.
Understanding pressure and employing different techniques are crucial for achieving varying embossing effects. Experiment with light to heavy pressure, as well as angled strikes, to create depth and dimension in your embossed leather artwork. Mastery of these tools and techniques will elevate your craftsmanship and make your embossing projects stand out with exquisite finesse.
Step 6: Preparing the Leather for Embossing
Before diving into the embossing process, it’s essential to prepare the leather properly. Begin by dampening the leather with a sponge or damp cloth. This step increases its flexibility, making it more receptive to the embossing process. Additionally, consider conditioning the leather with a suitable leather conditioner to ensure it remains soft and pliable.
Avoid common pitfalls by not over-dampening the leather, as excessive moisture can distort the embossing results. Also, avoid using harsh chemicals or substances that might damage the leather’s surface. A well-prepared leather canvas sets the stage for flawless embossing and brings out the best in your design.
Step 7: Embossing in Leather Techniques
For beginners, mastering basic embossing techniques is a great starting point. Practice straight-line embossing, which involves using a single stamp or tool to create clean and straightforward patterns. Experiment with the level of pressure and the angle of strikes to control the depth of the impressions.
As you gain confidence, explore more advanced techniques by layering and combining different patterns. Mix and match various stamps to create intricate designs with depth and dimension. The layering process allows you to achieve unique and visually striking effects, making your embossed leather creations truly exceptional and reflective of your artistic flair.
Step 8: Adding Color and Finishing Touches
When it comes to coloring embossed leather, you have a myriad of options to explore, allowing you to elevate your design and make it truly unique. Experiment with different coloring techniques, such as using leather dyes, acrylic paints, or leather stains. Each option provides distinct characteristics, from the bold and opaque coverage of paints to the subtle and natural look of leather stains. Utilize brushes or applicators to achieve varying effects, enabling you to add solid colors, delicate shading, or eye-catching highlights to your embossed patterns.
After adding color to your embossed leather masterpiece, applying the right finishes is essential to enhance the final result. Leather finishes and sealers not only protect your artwork from moisture and abrasions but also impart a subtle sheen, adding a professional touch to your creation. On the other hand, if you desire a more vintage and aged appearance, consider using a wax finish. The wax finish adds depth to the embossed design, creating an authentic and time-worn look that exudes character and craftsmanship.
As you experiment with different coloring and finishing techniques, remember to test them on a small, inconspicuous area of the leather first, ensuring you achieve the desired effect. Adding color and finishing touches will elevate your embossed leather piece from mere artistry to a stunning and impressive work of art that will captivate the beholder’s attention.
Step 9: Troubleshooting and Tips for Success
Even seasoned leather embossing enthusiasts may encounter challenges along the way. Addressing common mistakes and learning how to fix them can save your project from disappointment. If you notice uneven impressions, adjust your pressure or rehydrate the leather. For misaligned patterns, carefully remove the design and reapply using a more precise method. If your embossed leather cracks, try conditioning the leather and using softer tools.
To achieve professional-level results, consider these essential tips. Practice on scrap leather before embarking on important projects to build confidence and skill. Invest in high-quality embossing tools that offer precise detailing. Maintain consistency in pressure and angle of strikes to create even and well-defined patterns. Regularly clean your tools and workspace to prevent dust or debris from affecting your embossing work. With patience, practice, and attention to detail, you can elevate your leather embossing to an expert level and produce exceptional pieces that showcase your craftsmanship.
Step 10: Care and Maintenance of Emboss Leather
Properly caring for your finished embossed leather items is essential to preserve their beauty and longevity. Regularly wipe the leather with a soft, damp cloth to remove dust and dirt. Avoid exposing it to direct sunlight or extreme temperatures, as these can cause fading and cracking. For stubborn stains, use a mild leather cleaner following the manufacturer’s instructions.
Prolong the life of your embossed creations by storing them in a cool, dry place, away from moisture and humidity. Avoid overstuffing bags and wallets to prevent stretching or misshaping. Consider using leather conditioners or balms periodically to keep the leather supple and prevent it from drying out. With proper care and maintenance, your embossed leather items will continue to impress with their beauty and stand the test of time.
Conclusion
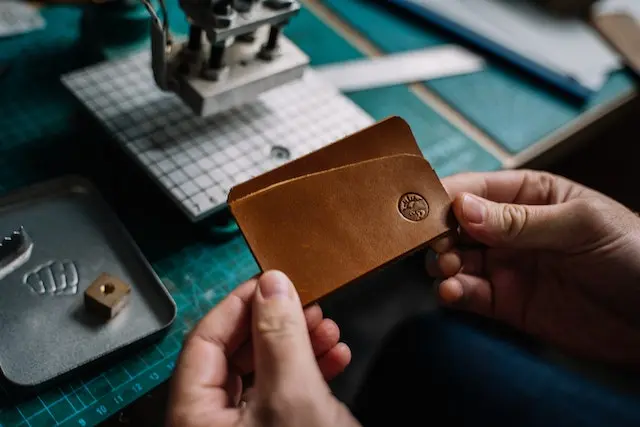
Embossing leather is an art that opens a world of creativity and craftsmanship. From selecting the right leather and designing intricate patterns to mastering embossing techniques, this timeless craft offers endless possibilities. With dedication and practice, you can transform plain leather into stunning, personalized pieces of art. So, let your imagination run wild and embark on your leather embossing journey, creating exceptional, handcrafted treasures that showcase your unique style and skill. Happy embossing!
FAQS:
Why is leather embossed?
Leather is embossed to create texture, patterns, or designs on its surface, enhancing aesthetics and adding uniqueness to the material.
How do you emboss a design into leather?
To emboss a design into leather, a heated metal or engraved stamp is pressed onto the leather’s surface, transferring the desired pattern through pressure and heat, creating a textured and decorative effect.
How long does leather stamping last?
The longevity of leather stamping depends on factors like leather quality, usage, and care. Properly embossed leather can maintain its texture and design integrity for the lifetime of the item.
Is embossing permanent?
Yes, embossing is generally permanent as it alters the leather’s surface structure, creating lasting raised patterns or designs that won’t easily fade or wear off with regular use.
What is the difference between embossing and engraving leather?
Embossing involves creating raised patterns on leather using pressure and heat, while engraving cuts designs into the leather’s surface using tools, producing recessed patterns with added depth and detail.